QuickAPI Documentation
QuickAPI offers an easy way to convert CSV files into fully operational REST APIs. This documentation explains how to create, configure, and query APIs with QuickAPI, allowing for organized and efficient access to CSV data using typical REST endpoints, with authentication, user management, automatic type inference, among other cool features.
Getting Started with QuickAPI
QuickAPI is different from typical tools that only convert CSV data to JSON. It allows users to create a fully functional REST API with minimal effort. By following a few simple steps, users can upload a CSV file, and let QuickAPI automatically detect the data types for you, and quickly generate an API that is ready for queries.
Steps to Create an API
-
Register for a free account at QuickAPI https://quickapi.io/signup
-
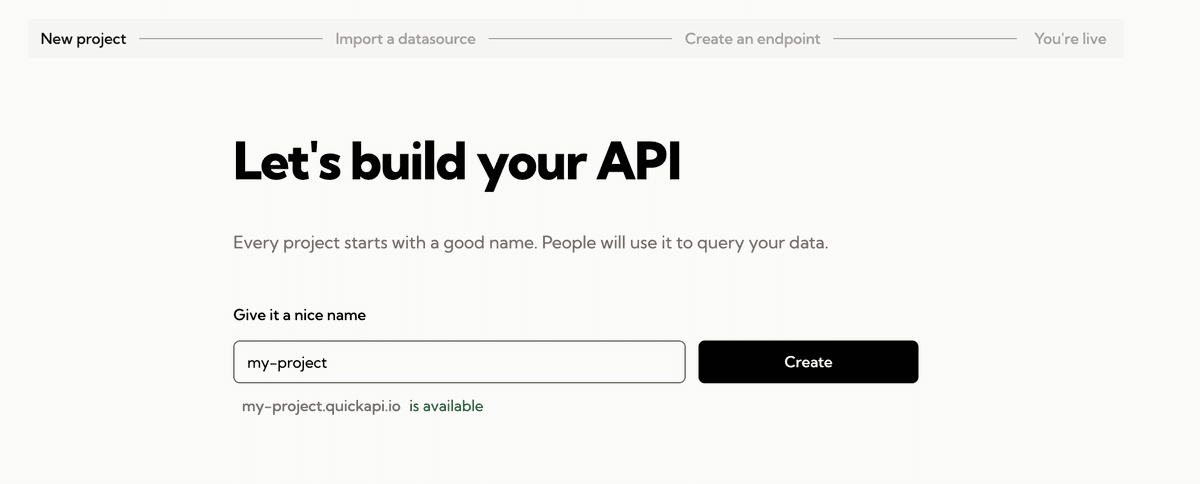
Choose an appropriate name for your project.
-
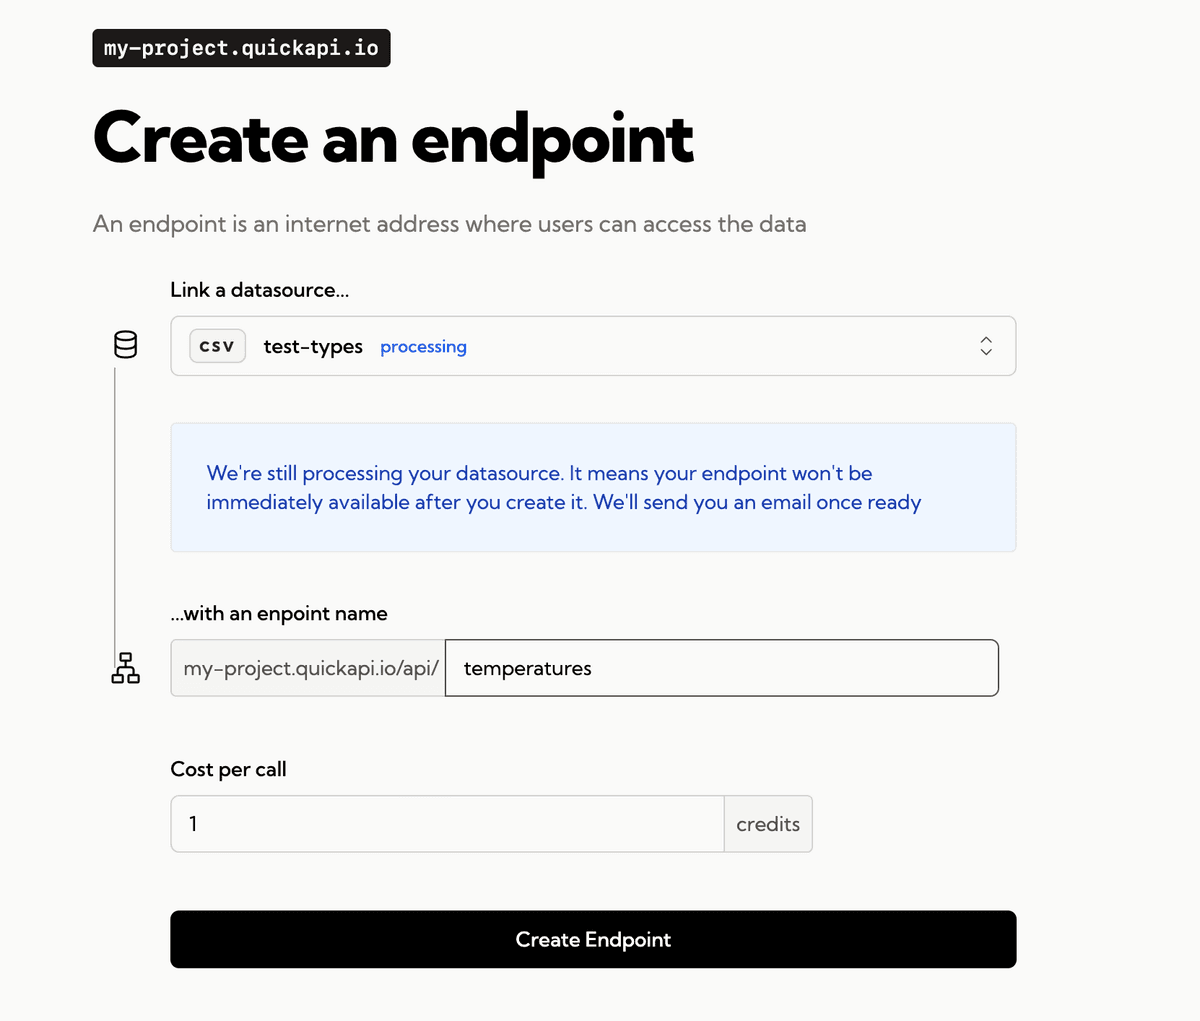
Upload your CSV file and let QuickAPI take care of inferring the correct datatypes for your data.
The list of possible data types is as follows:
- INTEGER.
- The value is a signed integer, stored in 0, 1, 2, 3, 4, 6, or 8 bytes depending on the size of the value.
- REAL.
- The value is a floating point value, stored as an 8-byte IEEE floating point number.
- TEXT.
- The value is a text string, stored using the UTF-8 encoding.
- Dates are also represented as a string since it is not a valid JSON datatype.
- BOOLEAN.
- The value is a boolean type, recognized using the keywords
TRUEandFALSE.
- The value is a boolean type, recognized using the keywords
- NULL.
- The value is a NULL value.
- INTEGER.
-
Create the related endpoint that you will be able to call to query your data.
-
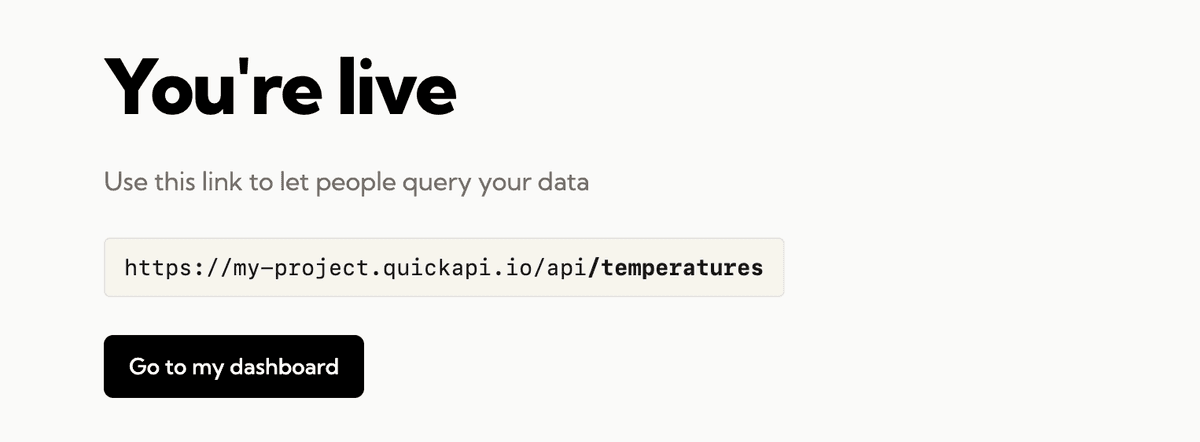
You can now query your CSV file like any other API.
QuickAPI’s CSV endpoints are GET only, which means you cannot create, update, or delete data, you can only query your data.
Plans and Endpoint Access
Plans let you control pricing, credits, and access to your API. Each plan defines:
- Credits included
- Recurrence (e.g., monthly)
- Requests per second (rate limit)
- Which endpoints are included in the plan
Including endpoints in a plan
You can decide which endpoints each plan includes, a plan can include all the endpoints of your project or just a subset. Your API users can only call the endpoints included in their plan; and requests to excluded endpoints are blocked with HTTP 401 Unauthorized. You can offer higher-level plans to include additional endpoints and expand access.
Rate limits per plan
Protect your API and your data by setting a rate limit in your project.
Every plan has a Requests-Per-Second limit. QuickAPI enforces this using a token-bucket algorithm:
- It maintains a bucket with a maximum capacity of N tokens.
- Tokens are refilled at a fixed rate of R per second, until the maximum capacity is reached (This is the number you set when creating the plan).
- Each request consumes one token; if a token is available, the request is allowed; if not, it is limited (429 Too Many Requests).
This ensures that no user consumes faster than the rate you have configured. However, since the bucket has an initial capacity greater than your RPS, initial bursts exceeding your rate can be allowed until the bucket tokens are depleted.
Each user will be limited throughout your entire project, which means that if they consume multiple endpoints and the sum of that consumption exceeds RPS, they will be limited.
When the limit is exceeded, the response is HTTP 429 Too Many Requests and includes helpful headers:
Response headers:
Retry-After: seconds to wait before retryingX-RateLimit-Success: whether the request was allowed ("true" / "false")X-RateLimit-Limit: the configured limitX-RateLimit-Remaining: how many requests remain in the current window
When you create a Plan, you can choose any limit you want. You can also monitor your API users to find out how many times or how much they are being limited, identifying potential abuse and acting accordingly.
Querying the API
This section explains how to use the QuickAPI Query Language (QQL) supported by all our CSV APIs, which follows the json:api specification. We can use a variety of operators to construct queries against our data.
Query Parameter Families
The way to query our data and filter it using query arguments is via a Query Parameter Family.
That means that all arguments must belong to a family to be used, that is, if we have a column
in our CSV called is_active, for example, we do not do it by sending the name of the column at the
first level of the argument.
Instead, if we want to filter that column, it must belong to the filter family:
Note that is_active is now inside two square brackets [].
The square brackets always enclose the column name, followed by the value we want to filter, of course, right after the filter Query Family.
We can also use dots (.) to separate the query family from the column name, and the operator:
If we do not specify an operator, by default it will be assumed that it is an equality
comparison eq.
We can also combine many filters in a single query:
This returns users named "Alice" between ages 25 and 35 whose email does not contain @spam.com.
Supported Query Parameter Families
-
filter
All of our CSV APIs support the following filtering operators:
eq: Equal tone: Not equal tobetween: Between two values (inclusive)notbetween: Outside a rangelike: Case-insensitive substring matchnotlike: Case-insensitive substring exclusionstartswith: Value starts with a given stringendswith: Value ends with a given stringnull: Check for nullgt: Greater thangte: Greater than or equal tolt: Less thanlte: Less than or equal toin: Match one of several valuesnotin: Exclude a list of values
-
page
The
pagequery family will help us to manage the pagination of the responses.-
number.- Represents the current page number.
- Starts from 1.
- Determines which subset of the data is retrieved.
-
size.- Represents the number of records per page.
- Controls how many items are returned in a single API response.
- Default to 20.
- Maximum of 200.
The following formula is used to fetch the correct subset of data:
- Page 1 → offset = (1–1) * 5 = 0 (fetch 1–5)
- Page 2 → offset = (2–1) * 5 = 5 (fetch 6–10)
- Page 3 → offset = (3–1) * 5 = 10 (fetch 11–15)
Example:
-
-
fields
Controls which columns of our datasource the API will return. If this argument is not specified, all columns will be returned by default.
-
includeThe value of any fields[type] parameter must be a comma-separated list that refers to the name(s) of the fields to be returned.
When we send the parameter include but do not specify columns, we will get an error:
If no
includeorexcludeparameter is specified within thefieldsfamily,includewill be used by default: -
excludeExclude these fields from the final answer.
Unlike
include,excludedoes not have a short or abbreviated form for using it, so we have to specify the complete family and operation (e.g.fields[exclude]) we want to perform to use it:This also means that if one of the two full forms of fields is present (either
&fields[include]=or&fields[exclude]=), the short form of include will be ignored.When both
includeandexcludeproperties are provided, theexcludeproperty will take precedence. This means if a field is listed in bothincludeandexclude, it will be excluded from the result set. For example, specifying the exact same fields in bothincludeandexcludewill result in an empty set of columns, causing an error:In other words, if we only include in the answer the columns a, b, and c, and we also exclude the column c, we will only end up with a and b:
-
-
sort
The
sortquery family enables sorting data by one or more criteria.- The sort parameter accepts a comma-separated list of fields.
- Prefix a field with - (a minus sign) to indicate descending order.
- Fields without a prefix are sorted in ascending order by default.
Example:
The following query sorts the data by «country» in ascending order and by the column «name» in descending order. This means that it orders it by Country, but if some rows have the same Country, it orders them by the column «name»:
Meta
The top level key meta is used for:
- Include non-standard, extra information related to your datasource.
- Details such as pagination info, record counts, processing times, datasource schema, or any other contextual data.
Example:
Although we can use the top level meta key to know the schema
of our datasource, like column name, type, if it accepts null or not,
for example, we can also use this endpoint separately, when we are only
interested in knowing the schema of our data without actually issuing a
query to our datasource:
Just add /schema to the end of the URL.
Example response: